Showing posts with label craft. Show all posts

Tuesday, June 26, 2012

How to Tuesday - Pony Bead Sun Catchers


I've finally had enough and turned on the air conditioning. The melting Alaskan girl has overpowered the cheapo girl. Since the air was running anyway I decided a little oven action couldn't hurt. I had recently heard that you can make crafts by melting pony beads in the oven. Sounds fun right?

We took out our little cake pans and loaded up our beads. I put them in the oven on 400° and cooked them for about 25 minutes, checking periodically. After melting I've decided I like the results when you place the beads on their sides rather then hole facing up. They melt smoother.

Toddler child's turned out better than mine becuase of the way most of his beads were on their sides.

They made a cracking sound as they cooled and they popped right out. My pans live to see another day! The edges were a little sharp in places, so I had to file them down a bit in those spots to smooth them out. I used the drill to make holes and ran some fishing line through.

Cool huh?


Toddler child wouldn't let me have his to take hanging pictures and insisted on sleeping with it.


I could see doing certain colors for holidays or using smaller pans to make a mobile or chime. I bet you might even be able to free form them on a cookie sheet.

Friday, March 16, 2012

Blarney Stones

Blarney stone refers to a chunk of bluestone that's built into the battlements of Blarney Castle in Ireland. Folklore has it that if you kiss the blarney stone you will be blessed with the gift of gab; being able to speak eloquently. However, kissing the blarney takes a little flexibility and a lack of acrophobia (fear of heights). To celebrate St. Paddy's Day tomorrow, we made our own little blarney stones. The weather has been gorgeous, so we played outside on the patio.


1/2 cup used coffee grounds
1/2 cup salt
1/4 sand
1 cup flour
1/2 cup water

Combine the dry ingredients then slowly add water. You may not need all the water if your dough gets tacky quickly, if it feels too dry and a little more.


We turned it out on a floured surface to knead it and better incorporate the ingredients.


Divide your dough into how many pieces you want. 6 seemed like a nice even number, but we could have done more smaller ones. We hid some change inside them, but you could easily place little trinkets or toys, like bouncy balls. Eldest child thought it would be a good idea to leave some empty and make a game of it to see who would score the prizes. I think we'll end up with a blarney stone hunt.


Once our little stones were ready I put them on a parchment lined pan and we threw them in the oven on 170° for about 2 hours, flipping them over half way, and then we left them to air dry the rest of the way. They'll be like rocks once they've dried and we'll be able to whack them with a hammer tomorrow.


Happy St. Pat's! May the luck of the Irish be with you and yours!


Tuesday, March 6, 2012

Salad Spinner Painting


I have a salad spinner. I rarely use it. It's not that we don't consume green leafy foods that require rinsing, but that I find it easy enough to rinse in the sink and shake out by hand. It would be far more work to pull the spinner out of the cupboard and then wash and return it after. Have I mentioned how LAZY I am?! In all honestly said salad spinner should have found a new home when we were purging and simplifying. But I remember it being pretty pricey, even though I got it during my Pampered Chef consultant days, and there's something very grown up about having a salad spinner.

Enter my new use for my salad spinner. Remember those Spirograph thingies from our childhood? You could make swirls and the there was a "tie-dye" thing where you put in the paint and it would spin across the paper. See where I'm going here? I should be sewing or cleaning, but decided that while the bean napped a fun project with toddler child was in order.

We gathered our supplies:
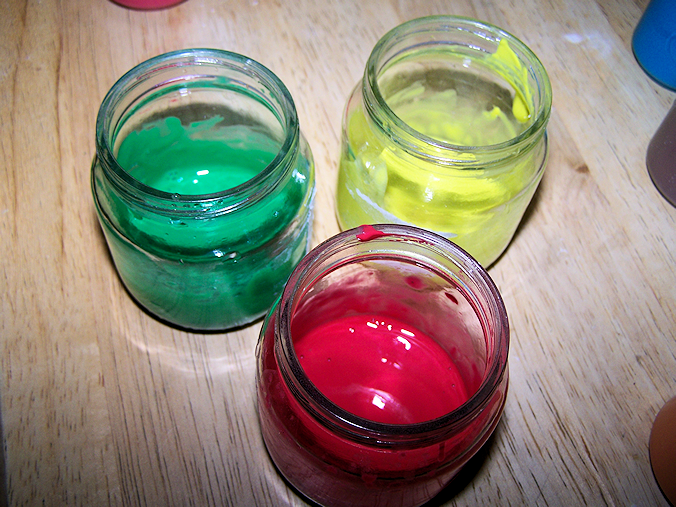
Salad spinner, washable paints, paper, and some small jars
Already starting mischief.
A more responsible parent would probably lay down newspaper or similar on the table top. I figured I was doing good making the turkey take off his shirt. And hey it's washable right?!

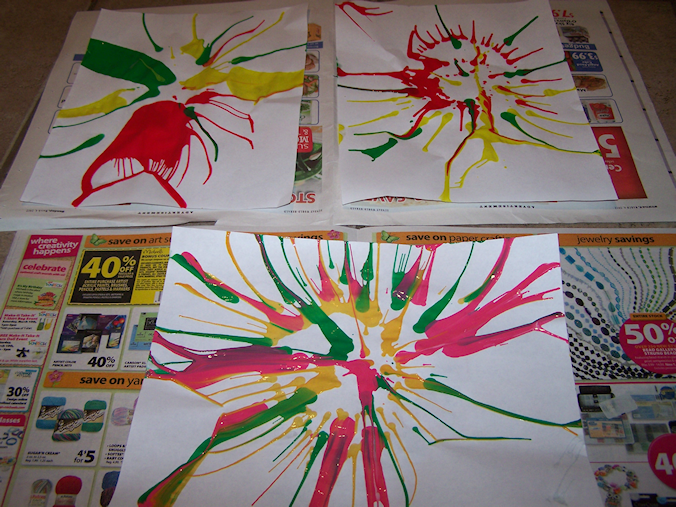
Our paint was on the thick side, so we added a little water so it would spread more easily. I let him pick 3 colors:


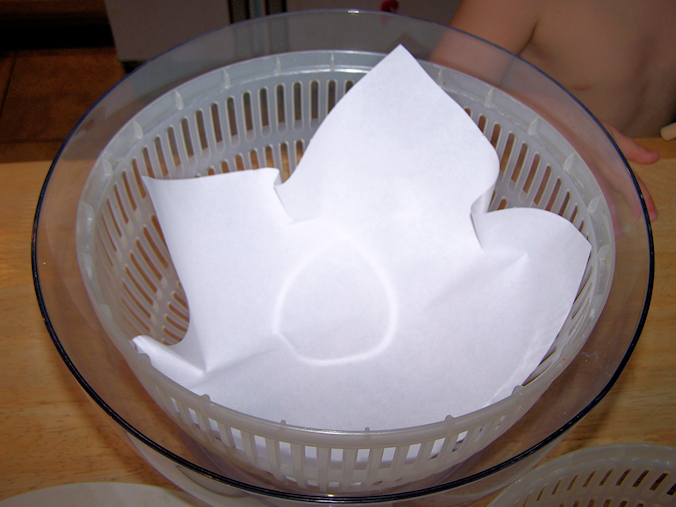
Lay your paper in your spinner. Ours has two baskets and we're using the larger one. In the future I might cut down our paper so it fits more evenly.


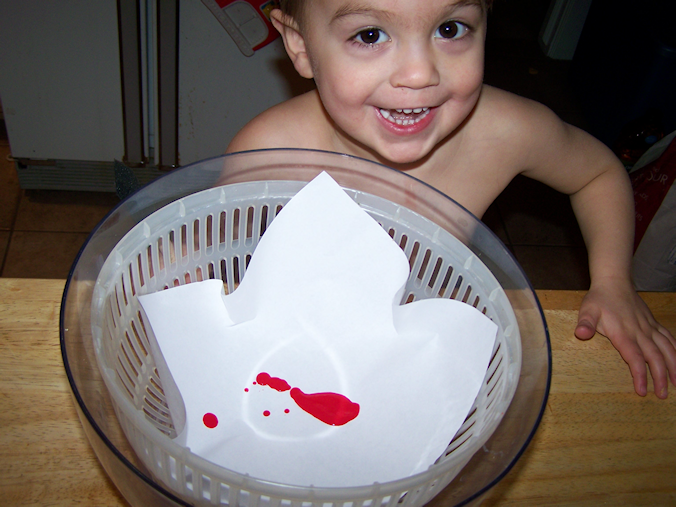
Let your little artist pour in some paint. You can see this is very exciting!


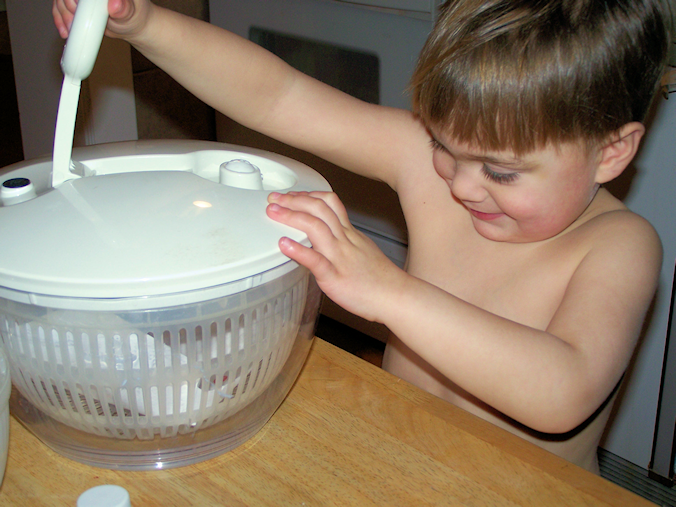
And it gets better! He spent most of the time squealing "I did it! I did it!"


Through subsequent spinnings we learned that small dots of paint yield more appealing swirls. And after the first two papers he wanted new colors so we added a little blue to our green, orange to our yellow and white to our red.


Tada! And as we finished cleaning up the bean woke from his nap, so our little project took just the right amount of time. I apologize for the horrible pictures there are no windows in the kitchen and the lack of natural light does nothing for my already marginal photography skills.